Using EQ for Better Guitar Tone: Essential Guide
Category: Guitar Gear
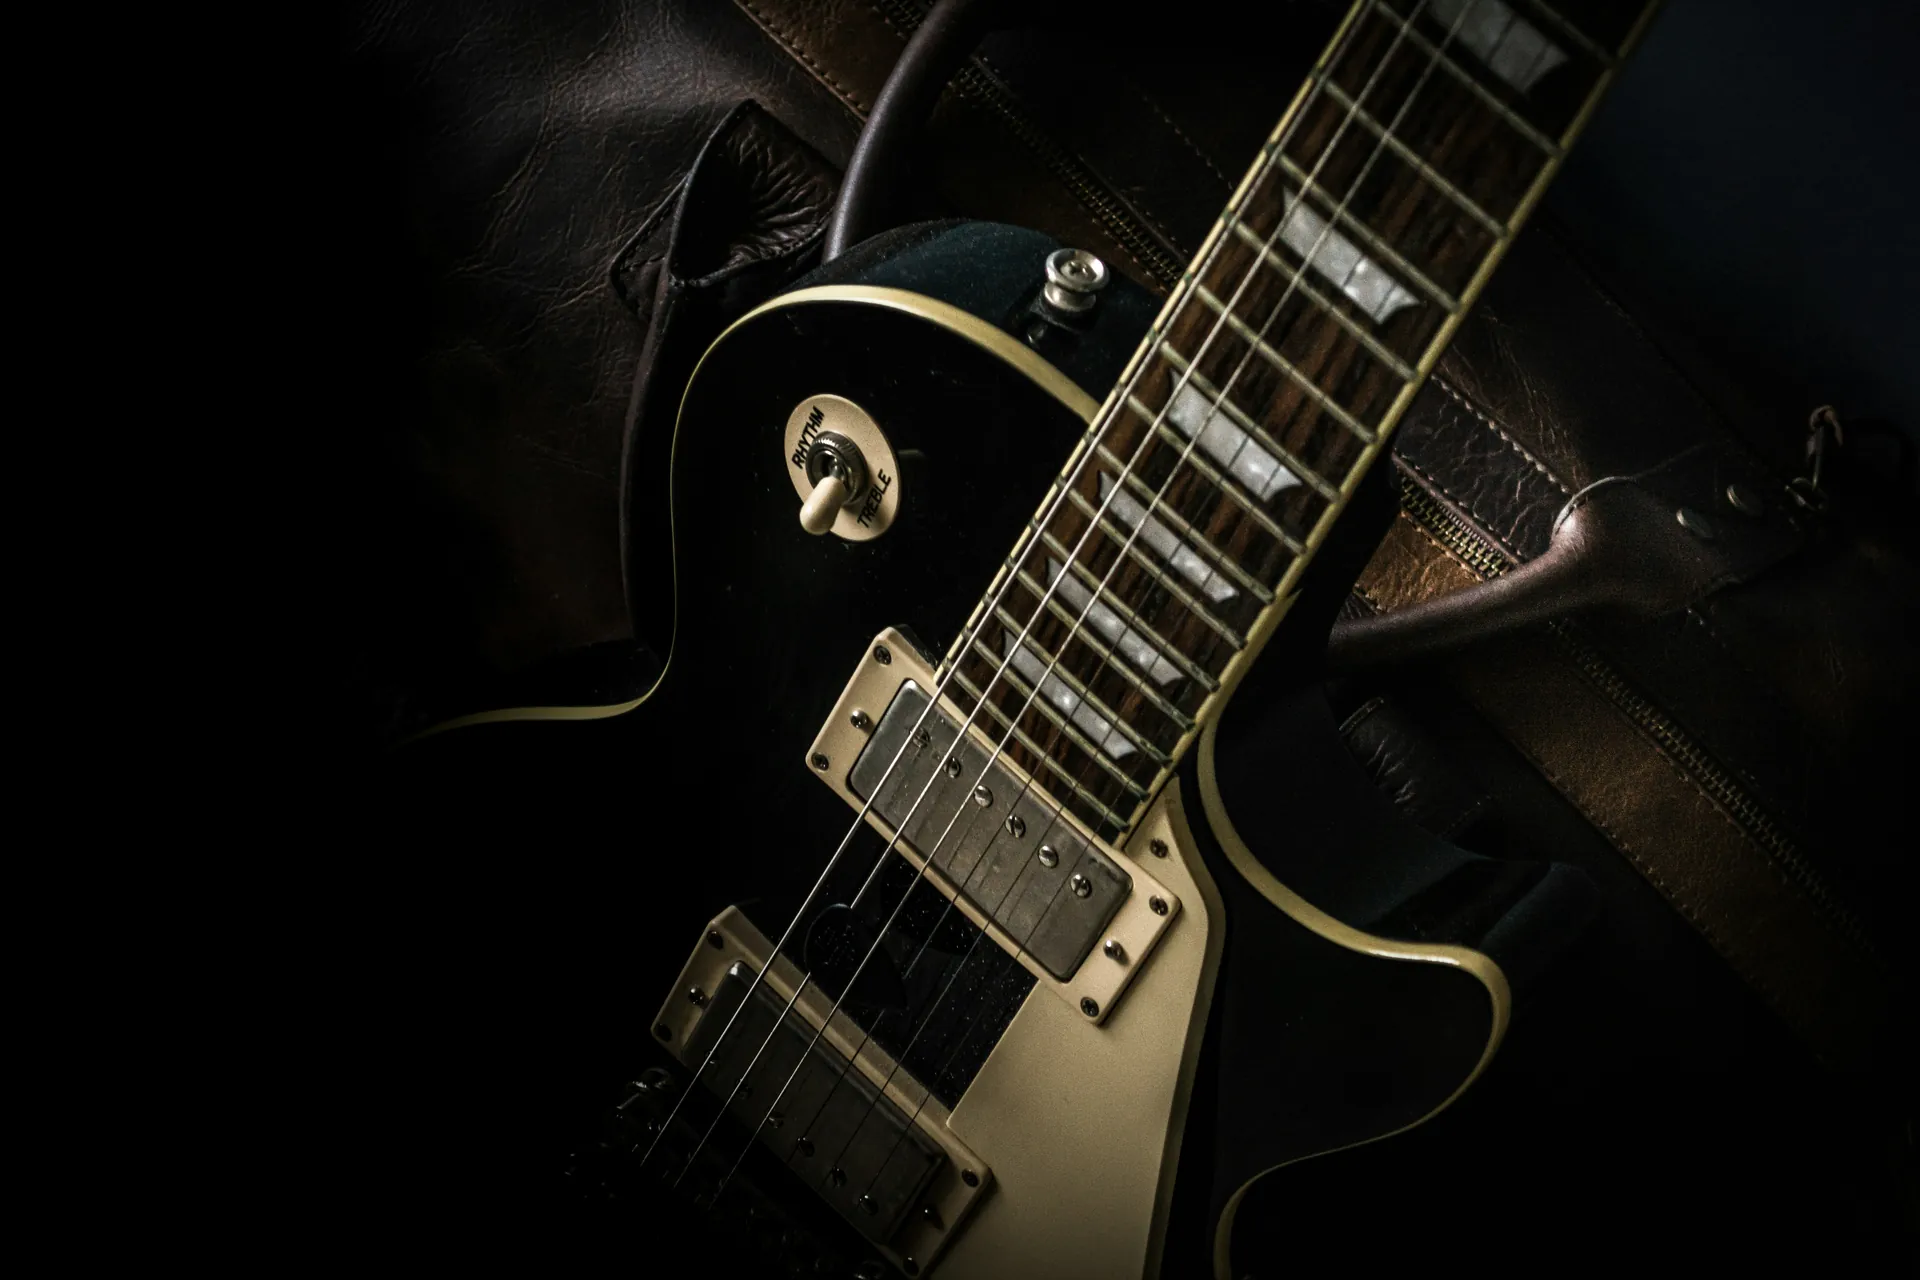
Unlock Your Best Guitar Tone with EQ
If you’ve ever felt like your guitar tone is close but just not quite right, you’re not alone. Whether you’re a seasoned guitar player or an enthusiastic beginner, understanding how to use EQ effectively can transform your sound from muddy or harsh to clear and vibrant. This guide dives straight into the art and science of using EQ to craft a better guitar tone, addressing common hurdles like frequency masking, muddiness, and harshness.
You found this post because you want precise, actionable advice that goes beyond generic tips — you want to know how to identify problem frequencies, shape your tone for different styles, and apply EQ confidently in various settings like pedals, amps, and DAWs. Unlike other articles that skim the surface, this post breaks down EQ into understandable parts with a logical flow, so you can tune your sound with finesse and creativity.
We’ll explore everything from fundamental frequency zones for guitar, to practical EQ strategies for clean and distorted tones, and how to use EQ in your recording and live rig for maximum impact. Whether your pain point is getting your guitar to sit just right in a mix or achieving a signature tone, this comprehensive guide is tailored for musicians who want to elevate their tone with precision. Ready to cut through the noise and truly own your sound? Let’s get started.
- Unlock Your Best Guitar Tone with EQ
- Understanding the Role of EQ in Guitar Tone
- Identifying Key Frequency Ranges for Guitar
- Common Guitar Tone Problems and EQ Fixes
- EQ Techniques for Clean vs. Distorted Guitar Tones
- Using EQ with Guitar Amplifiers
- EQ in Recording: Achieving Clarity and Presence in Guitar Tracks
- Dynamic EQ and Parametric EQ: Advanced Tools for Complex Tonal Challenges
- Layering EQ with Other Effects: Optimizing Tone with Overdrive, Compressor, and Modulation Pedals
- Practical EQ Tips for Different Guitar Styles
- Troubleshooting and Fine-Tuning Your EQ Settings: Using Your Ears and Avoiding Common Pitfalls
Understanding the Role of EQ in Guitar Tone
Before diving into hands-on EQ adjustments, it's essential to grasp what EQ does and why it’s a fundamental tool in shaping guitar tone. EQ, or equalization, is the process of boosting or cutting specific frequency ranges within your guitar signal. This allows you to emphasize the frequencies that make your tone shine while reducing those that cause muddiness, harshness, or masking when playing with other instruments.
Unlike other effects such as distortion, modulation, or reverb— which add sonic character or ambience — EQ is a tone-sculpting tool focused purely on frequency balance. It doesn’t color your sound with added effects but instead helps you refine the natural voice of your guitar and gear chain. Through careful EQ adjustments, you can carve space in the mix, enhance clarity, and highlight the key tonal elements unique to your style and instrument.
Here’s why EQ matters so much for guitar tone:
- Clarity and Presence: By reducing low-end rumble and dialing in midrange frequencies, EQ makes your guitar stand out without overpowering other instruments.
- Fixing Problem Frequencies: Every guitar and amp combination has frequency ranges that can sound harsh, muddy, or boxy. EQ lets you surgically reduce these unpleasant tones.
- Adaptability Across Settings: Whether you’re dialing in tone for live performance, studio recording, or looping, EQ helps your guitar sound great in any environment.
- Complementing Effects Chain: Unlike distortion or delay, EQ works well alongside other effects, helping balance your overall tone rather than drastically altering it.
Understanding these principles sets the foundation for mastering EQ as a precision tool, transforming your guitar tone into something uniquely yours. In the next sections, we’ll break down key frequency ranges and show you practical techniques to start applying EQ confidently in your playing and production.
Image courtesy of Pixabay
Identifying Key Frequency Ranges for Guitar
To effectively use EQ and craft a better guitar tone, the first step is understanding the key frequency ranges within the guitar’s audio spectrum. Your guitar’s sound consists mainly of three broad frequency areas: bass, mids, and treble. Each plays a crucial role in shaping the tone and can be adjusted to solve common issues or highlight certain tonal characteristics.
Bass Frequencies (80 Hz – 250 Hz)
The bass range provides the foundation and warmth of your guitar tone. It’s responsible for the fullness and body, especially important in rhythm playing and lower tunings. However, too much emphasis here can lead to a muddy or boomy sound, particularly in a mix with bass guitar and kick drums. When EQing these frequencies, consider:
- Cutting excessive lows to reduce muddiness.
- Boosting slightly around 100-120 Hz if the guitar sounds thin.
- Avoiding an overly heavy bass emphasis to maintain clarity.
Midrange Frequencies (250 Hz – 2 kHz)
The midrange is where the guitar’s character and presence truly come through. This range contains the fundamental frequencies and many of the harmonic overtones that define your instrument’s voice. Mids greatly influence how your guitar cuts through a band or mix. Within this range:
- Boosting around 800 Hz to 1.5 kHz can add punch and definition.
- Cutting in the midrange can sometimes reduce harshness or “boxy” tones.
- Paying close attention to the 400-600 Hz zone helps address muddiness without losing body.
Treble Frequencies (2 kHz – 8 kHz)
The treble band adds brightness, clarity, and attack to your guitar tone. This range influences pick attack and string articulation, essential for both clean and distorted sounds. Over-boosting high frequencies can lead to harshness or fizz, especially in single-coil pickups or bright amps. Key points include:
- Boosting around 3-5 kHz to increase presence and sparkle.
- Cutting between 6-8 kHz to tame unwanted harshness or hiss.
- Enhancing upper treble frequencies to help your guitar sit well in the mix without winning over other instruments.
By familiarizing yourself with these critical frequency zones—bass for warmth, mids for body, and treble for clarity—you’ll gain a clearer roadmap for EQ adjustments. This knowledge empowers you to target issues precisely and sculpt your guitar’s tone with confidence, whether you’re shaping rhythm parts, lead solos, or ambient textures. In the next section, we’ll dive into practical EQ techniques tailored for clean vs. distorted guitar sounds to help you put this frequency knowledge into action.

Image courtesy of Brett Sayles
Common Guitar Tone Problems and EQ Fixes
Even the best guitars and amps can produce unwanted tonal issues that muddy your sound or make your playing less enjoyable. Fortunately, EQ is your secret weapon for tackling typical guitar tone problems like muddiness, boxiness, honkiness, and harshness. Understanding these common issues and applying targeted EQ adjustments will help you restore clarity and balance to your tone, whether in live performance or studio recording.
1. Muddiness
Muddiness often occurs when the low-mid frequencies around 150-300 Hz build up too much, resulting in a congested, blurred sound that lacks definition. This is especially problematic in rhythm guitar parts or when playing alongside bass and drums.
EQ Fix:
- Apply a gentle cut between 150-250 Hz to reduce excess low-mid energy and clear up the mix.
- Avoid deep cuts that thin out the tone; aim for subtle reductions (around 2-4 dB).
- If the guitar sounds too thin after cutting, consider a slight boost near 100 Hz to retain warmth.
2. Boxiness
Boxiness gives your guitar a hollow or “wooden” sound, often caused by a peak in the 400-600 Hz range. This frequency band can mask other instruments and make your guitar tone feel cluttered or unnatural.
EQ Fix:
- Cut gently in the 400-600 Hz area to reduce boxy qualities.
- Be careful not to remove too much midrange; maintaining some presence here is vital for character.
- Combine with midrange boosts around 800 Hz - 1.2 kHz to bring back clarity and definition.
3. Honkiness
Honkiness is a sharp, nasal quality frequently found in guitars with humbuckers or certain pickup settings, commonly located around 800 Hz - 1.5 kHz. This can make your guitar sound piercing or unpleasant, particularly in solos or lead lines.
EQ Fix:
- Slight cuts in the 900 Hz - 1.2 kHz range can tame honky tones.
- Use narrow Q settings (focused cuts) to target honkiness without dulling the overall sound.
- Complement cuts with treble boosts between 3-5 kHz to restore brightness and string articulation.
4. Harshness
Harshness appears as an unpleasant, brittle edge or fizz, mostly in higher frequencies between 4-8 kHz. Single-coil pickups and increased treble settings often contribute to this issue.
EQ Fix:
- Cut slightly around 5-7 kHz to smooth out harsh top-end without sacrificing definition.
- If hiss or noise is prominent, a tighter cut closer to 7 kHz can help reduce that sizzle.
- Balance cuts with gentle presence boosts near 3-4 kHz to preserve pick attack and clarity.
These targeted EQ fixes help you diagnose and correct problematic frequencies quickly, restoring your guitar tone’s natural warmth, clarity, and bite. When applying these cuts and boosts, always trust your ears and remember subtlety is key—a little tweak often yields the best results. In the upcoming sections, you'll learn how to customize these EQ strategies specifically for clean tones versus distorted sounds, making your guitar voice stand out beautifully in any musical context.
Image courtesy of Pixabay
EQ Techniques for Clean vs. Distorted Guitar Tones
When dialing in your EQ settings, it’s crucial to tailor your approach depending on whether you’re playing clean or distorted guitar tones. These two tonal worlds demand different EQ strategies because distortion naturally compresses, saturates, and alters the frequency content of your signal, affecting what frequencies stand out or get masked.
EQ Strategies for Clean Guitar Tones
Clean guitar tones benefit from a more transparent, balanced EQ approach that preserves the instrument’s natural dynamics and articulation. Since clean sounds are less compressed, frequency imbalances are more noticeable, so subtle EQ changes can make a big difference.
- Focus on clarity and presence: Boost the 3-5 kHz range slightly to enhance string attack and note definition, which helps your clean tone cut through a mix without sounding harsh.
- Control low-end rumble: Apply gentle low-frequency cuts below 100 Hz to avoid muddiness, especially when playing open chords or rhythm parts.
- Enhance body with mids: A modest boost between 800 Hz and 1.2 kHz adds warmth and fullness that prevents the tone from sounding thin or trebly.
- Address boxiness and honkiness: Use narrow cuts in the 400-600 Hz and 900-1,200 Hz zones as needed to tame unwanted woody or nasal coloration, but avoid over-cutting to maintain natural tone.
EQ Strategies for Distorted Guitar Tones
Distorted tones introduce harmonic complexity and compression, often emphasizing harsh or shrill frequencies. Here, EQ acts not only to shape tone but also to manage distortion’s tendency to exaggerate problem frequencies and to maintain note clarity despite gain saturation.
- Cut harsh high frequencies: Gently reduce frequencies around 4-7 kHz to tame fizz and shrillness caused by distortion, smoothing the overall sound without dulling pick attack.
- Tighten the low end: Apply cuts below 120 Hz to reduce muddiness and tighten the distorted sound, which helps prevent a “flubby” or indistinct low end.
- Sculpt midrange punch: Boosting the midrange around 800 Hz to 1.5 kHz enhances note definition and sustain, allowing distorted notes to cut through dense mixes.
- Avoid excessive boosts: Distortion amplifies boosts more aggressively—keep EQ adjustments moderate, focusing primarily on cutting problem frequencies to maintain tonal balance.
By understanding how distortion affects the guitar’s frequency spectrum, you can use EQ to mitigate harshness and muddiness while preserving articulation and note clarity. Meanwhile, clean tones reward more precise presence boosts and subtle cuts to highlight dynamics and natural timbre.
In both cases, the key is to use your ears as the ultimate guide and make small, incremental EQ changes. This tailored approach ensures your guitar tone sounds polished and professional whether you’re delivering sparkling cleans or roaring distorted leads.
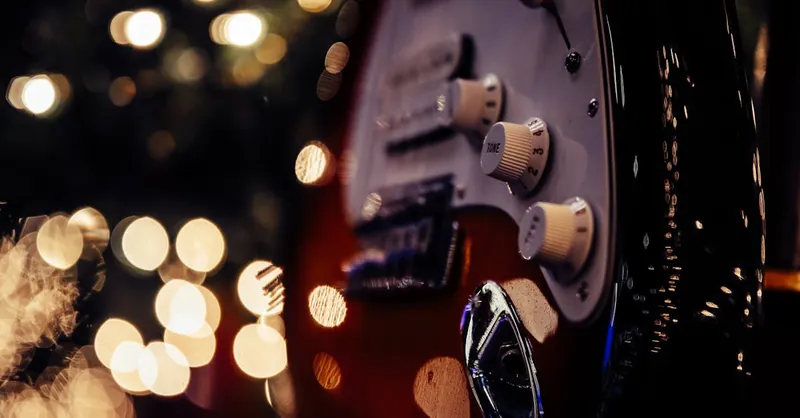
Image courtesy of Brett Sayles
Using EQ with Guitar Amplifiers
Mastering EQ on your guitar amplifier is a fundamental step to shaping your tone before it hits any pedals or recording interfaces. Most guitar amps come equipped with basic tone controls—typically bass, mid, and treble knobs—that act as built-in EQs, allowing you to tailor your sound on the fly. Understanding how to use these controls effectively can dramatically improve your amp tone without relying solely on external EQ pedals or software.
Practical Tips for Amp EQ Settings
- Start with a flat EQ: Begin by setting your bass, mid, and treble knobs to noon (12 o’clock). This neutral starting point lets you hear the natural voice of your amp and guitar.
- Adjust mids first: The midrange control is usually the most powerful tone shaper. Boosting mids makes your guitar sound fuller and helps it cut through a band mix, while cutting mids can yield scooped, modern metal tones.
- Dial in bass wisely: Increase bass for warmth and body, but avoid over-boosting that causes muddiness or mud in the lower frequencies. If your amp’s low end feels boomy, try reducing the bass and compensating with midrange or treble.
- Fine-tune treble: Treble adds brilliance and bite but too much can make your tone harsh or fizzy, especially with single-coil pickups. Start with moderate treble and tweak to taste, watching out for any shrill frequencies.
- Use your ears in context: Amp EQ settings can sound very different at bedroom volume versus live gigs. Always test your adjustments at the volume and environment you’ll be playing in to ensure the tone translates well.
Leveraging External EQ Pedals for Amp Tone Control
While amp tone knobs offer quick and broad adjustments, external EQ pedals provide precision and flexibility that can solve more specific tonal challenges or creatively shape your sound.
- Graphic EQ pedals feature multiple fixed-frequency bands allowing surgical boosts or cuts—ideal for addressing problem frequencies like honkiness or harsh highs.
- Parametric EQ pedals offer adjustable frequency, gain, and Q factor, giving you detailed control over the exact frequencies you want to shape, making them perfect for sculpting unique tones or matching your amp to different guitars.
- Placement Matters: Positioning your EQ pedal before the amp’s input allows you to shape your guitar’s raw tone, while placing it in the effects loop (if available) adjusts the amp’s distorted or processed signal. Experiment with both placements to find your preferred tonal results.
Combining your amp’s onboard EQ with an external EQ pedal lets you maximize tone control—use the amp for broad tonal shaping and the pedal for precise tweaks. This approach empowers you to craft dynamic, responsive guitar tones that work well live and in the studio, all while maintaining clarity, presence, and balance.
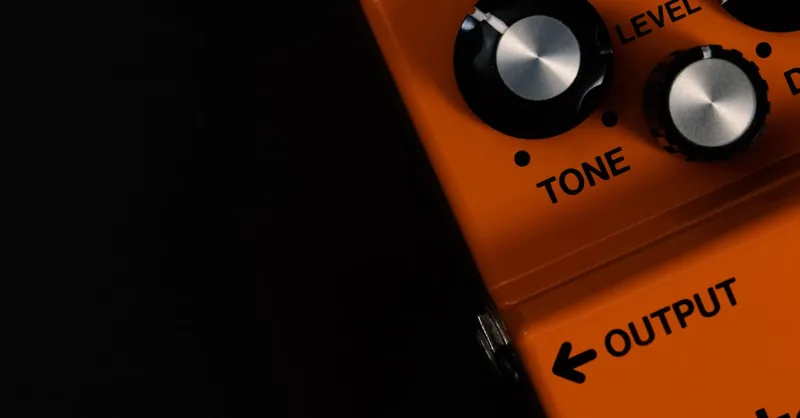
Image courtesy of E
EQ in Recording: Achieving Clarity and Presence in Guitar Tracks
Using EQ during recording and mixing is essential to capture a guitar tone that sounds clear, present, and polished in your final production. Unlike live sound scenarios, recording environments allow for more precision to address frequency clashes, improve separation, and enhance the natural character of your guitar before it competes with other instruments.
EQ Techniques During Tracking
While tracking your guitar, applying gentle EQ can save valuable time in mixing and help you record cleaner, more focused tones. Here’s how to use EQ effectively during tracking:
- High-Pass Filtering: Use a high-pass filter (HPF) to roll off unwanted low-end rumble and stage noise below 80-100 Hz. This removes non-musical low frequencies that don’t contribute to the guitar tone but can muddy up the mix when combined with bass and drums.
- Taming Boominess and Boxiness: If your guitar sounds too boomy or boxy in the recording room, reduce problem frequencies gently around 150-250 Hz (mud) and 400-600 Hz (boxiness). Making these subtle cuts during tracking helps capture a cleaner signal.
- Enhancing Presence: Thin or distant guitars benefit from a slight boost in the 3-5 kHz range. This cut-through boost improves articulation and pick attack, ensuring your guitar parts remain distinct in the arrangement.
Using EQ in the Mixing Phase
Once your guitar tracks are recorded, applying EQ in the mix is crucial to create space, balance, and presence among all instruments. Here’s a focused strategy to EQ guitar tracks for clarity:
- Cut Before You Boost: When addressing frequency conflicts or tonal issues, start by cutting unwanted frequencies rather than boosting others. This leads to a more natural and transparent sound.
- Separate Guitar from Other Mix Elements: Use midrange cuts around the 300-600 Hz area on your guitar track to reduce muddiness, while slightly boosting mids at 800 Hz to 1.5 kHz to highlight note definition and create contrast with vocals and keyboards.
- Control Harshness and Sibilance: Excessive high frequencies in the 5-7 kHz range can cause harshness, especially when multiple guitars or cymbals clash. Apply narrow EQ cuts at these frequencies to smooth the tone without dulling it.
- Use Parallel EQ for Presence: To add bite without losing body, consider parallel EQ techniques—send a duplicate track through an EQ that boosts treble and midrange aggressively, then blend it subtly with the original signal. This maintains warmth while adding clarity and presence.
By thoughtfully applying EQ during both tracking and mixing, you ensure your guitar recordings have an optimal frequency balance that fits naturally in the mix. This approach eliminates common issues like muddiness and frequency masking, allowing your guitar tone to remain impactful, distinct, and sonically pleasing in any musical production.

Image courtesy of Caleb Oquendo
Dynamic EQ and Parametric EQ: Advanced Tools for Complex Tonal Challenges
When basic EQ controls and graphic EQs fall short in solving tricky tonal issues, Dynamic EQ and Parametric EQ offer powerful, precise solutions for guitarists seeking to refine their sound at a professional level. These advanced EQ types provide greater control by allowing you to target specific frequencies with surgical precision and adapt EQ settings dynamically based on the input signal, making them indispensable tools in both live and studio environments.
What is Parametric EQ?
A Parametric EQ gives you control over three crucial parameters: the cutoff frequency, the gain (boost or cut), and the Q factor (bandwidth). This means you can pinpoint a particular frequency range, decide how much to adjust it, and how wide or narrow the adjustment will be. For guitar tone, this allows you to:
- Isolate and reduce problem frequencies such as honkiness or boxiness without affecting surrounding tones.
- Enhance presence or warmth by gently boosting narrow bands where your guitar naturally shines.
- Precisely sculpt midrange frequencies, which are critical to your guitar’s voice in a mix.
Because of its flexibility, parametric EQ is ideal for addressing subtle tonal imbalances that broader EQ controls can’t resolve, especially when smoothing out complex distorted tones or studio-recorded tracks.
Why Use Dynamic EQ?
Dynamic EQ combines the precision of parametric EQ with the responsiveness of a compressor. Instead of applying a fixed boost or cut, a dynamic EQ reacts only when the problematic frequency exceeds a set threshold. This makes it an intelligent solution for frequency-dependent issues that vary with playing dynamics or guitar parts.
Benefits of dynamic EQ for guitar tone include:
- Suppressing harshness only when it occurs: For example, taming piercing 5-7 kHz frequencies during aggressive picking without dulling the tone at all other times.
- Controlling muddiness dynamically: Cutting low-mids only when chords or bass notes create excessive resonance, preserving warmth in softer passages.
- Maintaining natural dynamics: Unlike static EQ cuts, dynamic EQ retains the full tonal character when problem frequencies are not present, keeping your guitar sounding lively and expressive.
Practical Applications for Guitarists
- Use parametric EQ to pinpoint and tame harsh resonances or enhance sweet spots in your guitar’s frequency spectrum with surgical accuracy.
- Employ dynamic EQ to handle problematic frequencies that fluctuate with your playing style, such as sibilant high notes or resonant lows during chord strumming.
- Combine both to sculpt your tone in complex mixes or when recording multiple guitar layers, ensuring each part sits clearly without harshness or muddiness.
Incorporating dynamic and parametric EQ into your guitar rig—whether through advanced pedals, DAW plugins, or studio hardware—elevates your tone-shaping capabilities by solving complex tonal challenges that traditional EQ often can’t handle. Mastering these tools allows you to unlock a clear, balanced guitar sound that adapts fluidly to your playing dynamics and musical context.

Image courtesy of Caleb Oquendo
Layering EQ with Other Effects: Optimizing Tone with Overdrive, Compressor, and Modulation Pedals
EQ doesn’t exist in isolation—when combined thoughtfully with other guitar effects like overdrive, compression, and modulation, it becomes a vital sonic sculpting tool that enhances clarity, definition, and overall musicality. Understanding how EQ interacts within your effects chain enables you to control frequency build-ups, avoid muddiness, and highlight your guitar’s character precisely, resulting in a richer, more polished tone.
EQ and Overdrive/Distortion Pedals
Overdrive and distortion pedals amplify and saturate your signal, often emphasizing midrange and high frequencies while compressing dynamics. This can lead to harsh or muddy frequencies becoming exaggerated. Applying EQ before the overdrive pedal allows you to tame problematic frequencies early, preventing distortion from making them more pronounced. For example:
- Cutting excessive lows (below 120 Hz) can reduce flubbiness that dirt pedals often amplify.
- Slight midrange boosts around 800 Hz to 1.2 kHz before distortion help notes cut through a dense mix.
- Reducing harsh 4-7 kHz frequencies with a narrow EQ band can smooth out fizz and brittle tones.
Conversely, placing a graphic or parametric EQ after the overdrive can fine-tune your distorted tone, helping balance the overall frequency response and tailor the pedal’s aggressive character without losing punch.
EQ and Compression Pedals
Compression affects the dynamic range by evening out volume peaks and sustain, often emphasizing certain frequencies, particularly in the low-mid area. Using EQ in conjunction with compression can prevent frequency masking and keep your tone balanced:
- Applying a high-pass EQ before compression removes unnecessary low-end rumble that compressors might otherwise accentuate.
- Cutting muddy frequency bands around 200-300 Hz before the compressor keeps your tone tight and clear.
- Adding presence boosts in the 3-5 kHz range after compression helps restore attack and articulation that compression sometimes softens.
Proper EQ placement around compression pedals ensures your signal maintains clarity while benefiting from smooth dynamic control.
EQ and Modulation Effects
Modulation effects like chorus, flanger, and phaser introduce movement and texture but can sometimes cause your guitar tone to lose focus or get masked in the mix. EQ helps maintain clarity:
- Use EQ to cut muddy or honky frequencies before modulation pedals to prevent unwanted buildup of resonances.
- Brighten the signal with subtle treble boosts (3-6 kHz) post-modulation to enhance articulation and pick attack.
- When using multiple modulation pedals, consider midrange cuts to avoid frequency congestion.
Key Tips for Layering EQ with Effects
- Experiment with EQ placement: Try EQ before pedals to manage raw guitar tone, or after pedals for sculpting processed sounds. Each position yields different tonal results.
- Avoid excessive boosting: Particularly with distortion and compression, cutting problematic frequencies is usually more effective than boosting others, which can cause unwanted noise or harshness.
- Fine-tune with narrow Q settings: Use focused EQ bands for surgical frequency adjustments, especially when dealing with distortion or modulation artifacts.
- Trust your ears in context: Test your effects and EQ chain within the full band or mix environment to ensure your tone sits well and remains balanced.
By strategically layering EQ with overdrive, compressor, and modulation pedals, you gain greater control over your guitar’s frequency spectrum and improve tonal definition across complex signal chains. This approach not only maximizes clarity and punch but also unlocks expressive tonal possibilities that make your guitar sound intentional, professional, and uniquely yours.

Image courtesy of E
Practical EQ Tips for Different Guitar Styles
Every guitar style demands a unique tonal approach, and tailoring your EQ settings accordingly can greatly enhance your sound’s authenticity and impact. Whether you’re playing blues, rock, jazz, metal, or acoustic, understanding the characteristic frequency priorities and common challenges of each genre helps you craft a tone that not only fits stylistically but also cuts through mixes with precision.
Blues Guitar EQ Tips
Blues tones thrive on warmth, expressiveness, and midrange richness. To achieve that soulful, vintage vibe:
- Boost mids around 700 Hz to 1.2 kHz to emphasize body and presence, which enhances note clarity and sustain.
- Slightly reduce low-end frequencies below 100 Hz to avoid muddiness, especially if using a thick neck pickup or humbuckers.
- Keep treble moderate (2-4 kHz) to retain snap and pick attack without causing harshness.
This EQ approach highlights expressive bending and dynamic playing, producing a warm, vocal-like guitar tone intrinsic to blues.
Rock Guitar EQ Tips
Rock guitar tones demand a balance of punch, grit, and cut-through power, whether in rhythm or lead roles:
- Emphasize midrange frequencies around 800 Hz to 1.5 kHz to ensure your guitar sits forward in the mix.
- Trim excessive bass below 100 Hz to prevent clashing with bass guitar and drums, tightening your low end.
- Boost treble frequencies between 3-5 kHz for sharper attack and brightness, especially on distorted tones.
This EQ profile delivers the aggressive yet clear character essential for modern and classic rock styles.
Jazz Guitar EQ Tips
Jazz tones require a smooth, warm sound with clear note definition but without excessive brightness:
- Boost the lower mids around 300-600 Hz to add warmth and fullness, vital for clean jazz guitar tones.
- Cut treble frequencies slightly above 5 kHz to avoid brittle shimmer that can distract from melodic phrasing.
- Maintain balanced bass frequencies to preserve body without overpowering the mix or muddying articulation.
This EQ strategy supports jazz players in achieving a rounded, woody tone that complements complex chords and soft dynamics.
Metal Guitar EQ Tips
Metal demands aggressive, tight, and articulate tones that can survive high gain saturation and dense mixes:
- Cut lows aggressively below 100 Hz to reduce flabbiness and tighten the guitar’s foundation.
- Boost mids between 800 Hz and 1.2 kHz for midrange punch and note clarity, critical in heavy riffing.
- Reduce harsh treble frequencies around 5-7 kHz to tame fizz and ear fatigue common in distorted metal tones.
Implement these EQ settings to carve out a brutal yet balanced tone that stands out in fast, complex metal compositions.
Acoustic Guitar EQ Tips
For acoustic guitars, the goal is naturalness, brightness, and warmth that complement the instrument’s resonance:
- Boost bass frequencies around 100-200 Hz moderately to enhance body without causing boominess.
- Elevate midrange frequencies between 1-3 kHz to highlight string definition and pick articulation.
- Add gentle treble presence at 5-7 kHz for sparkle and air without introducing harshness.
This EQ approach helps your acoustic guitar sound clear and lively whether playing solo or in an ensemble.
Adapting your EQ settings to the specific tonal needs of your guitar style unlocks a more authentic, impactful sound and helps you sit perfectly in any musical context. Remember, these guidelines serve as starting points—always use your ears and make incremental adjustments to find the sweet spot unique to your gear and playing environment.
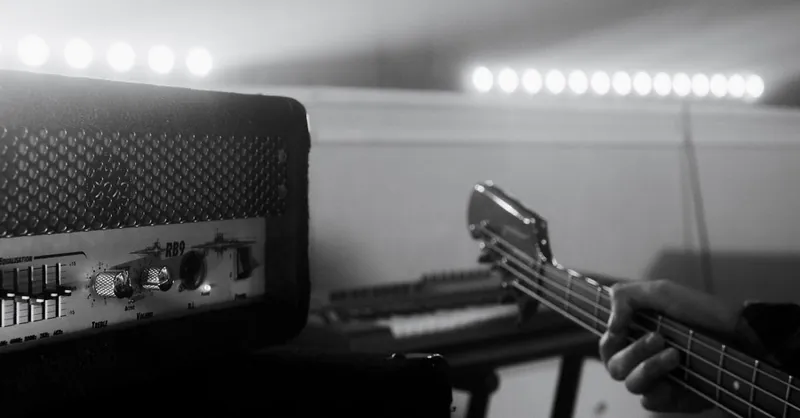
Image courtesy of Artem Podrez
Troubleshooting and Fine-Tuning Your EQ Settings: Using Your Ears and Avoiding Common Pitfalls
Crafting the perfect guitar tone with EQ is as much an art as it is a science, and the most reliable tool in your arsenal is your ears. While frequency charts and EQ guidelines provide a solid foundation, listening critically and making small, informed adjustments is essential for effective tone shaping. When troubleshooting EQ settings, start by isolating the guitar sound and listen carefully for frequencies that feel overwhelming, dull, or unnatural. Use narrow Q cuts to surgically remove offending tones and subtle boosts to enhance desirable characteristics. Avoid large, sweeping EQ changes that can drastically alter your tone and introduce new problems.
Here are key tips for fine-tuning your EQ and avoiding common pitfalls:
- Make incremental adjustments: Shift EQ bands by small amounts (1-3 dB boosts or cuts) and listen before making further changes to prevent over-processing your signal.
- Use EQ in context: Always test your guitar tone with the rest of the band or mix playing. EQ tweaks that sound great solo might cause masking or imbalance when combined with other instruments.
- Beware of boosting noise: Excessive high-frequency boosts can amplify unwanted hiss and hum, particularly in distorted tones or older gear. Prefer cutting problem frequencies over aggressive boosting.
- Avoid the “fix-it-all” mindset: EQ won’t compensate for fundamental issues like poor playing technique, bad strings, or an unbalanced amp setup. Address these first before relying heavily on EQ.
- Experiment with EQ placement: The position of your EQ in the signal chain—before or after distortion, compression, or modulation—significantly affects the results. Try different placements to hear how the radical or subtle changes impact your tone.
- Use bypass comparisons: Regularly toggle your EQ on and off to ensure your adjustments genuinely improve your tone rather than detracting from its natural character.
By combining analytical listening with methodical experimentation, you’ll develop a refined EQ workflow that tailors your guitar tone with precision and creativity. Remember, EQ is a powerful but subtle tool: the goal is to enhance your guitar’s unique voice, not to mask it. This approach helps you troubleshoot common tonal problems effectively, produce balanced guitar sounds, and stay adaptable across diverse musical contexts.
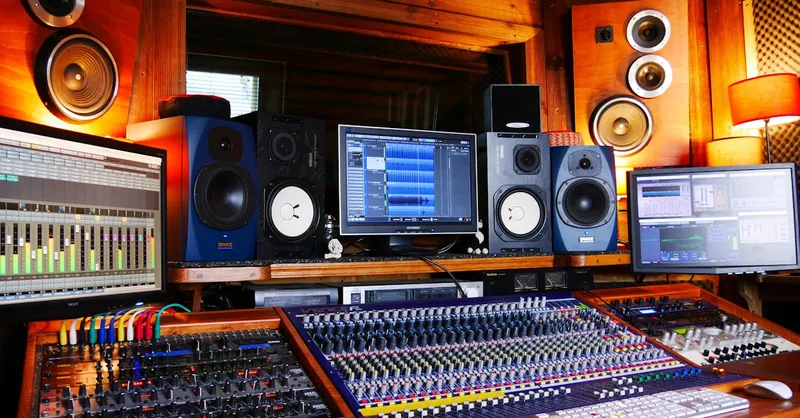
Image courtesy of Tom de Monteiller